
Get Business Email
No domain name required
Best Website Builder
In Sydney
Sydney is not only a business and cultural hub but also a thriving center of innovation and entrepreneurship. In this dynamic market, a quality website is critical to the success of small businesses. Creating a new website in Sydney may be both complicated and challenging. There is a lot to do, from designing the perfect layout to providing compelling content.
Thus, selecting the best Sydney website builder for your small business or personal brand is essential. From selling your services online to highlighting your unique selling features, the best website builder will help you accomplish your business and personal goals more quickly. In this article, we've selected and reviewed the best website builders in Sydney for 2025 to help you construct a beautiful and powerful website that will help you convert your website visitors to loyal customers.
Why do you Need a Website for a Business in Sydney?
Sydney, as one of Australia's key economic and technological centers, is a great location for implementing innovation. The eCommerce market in Australia is expected to expand by 9.36% (2024-2029), with a market volume of US$58.03 billion in 2029. In such an ecosystem, having a professionally designed website is an asset and a requirement for any business that wants to flourish.
The importance of a unique online presence cannot be overstated for a local business owner in Sydney, Australia's financial center. A beautiful, mobile-friendly, and thoughtfully designed website will give users a far better experience and inadvertently increase brand visibility.
5 Best Website Builders in Sydney
Here, we have selected a few of the best website builder and designer platforms in Sydney that can provide your business with a competitive advantage through a well-designed and functional website. Let's look at their set-up process, key features, pros and cons, as well as their pricing tier in detail:
1. Neo
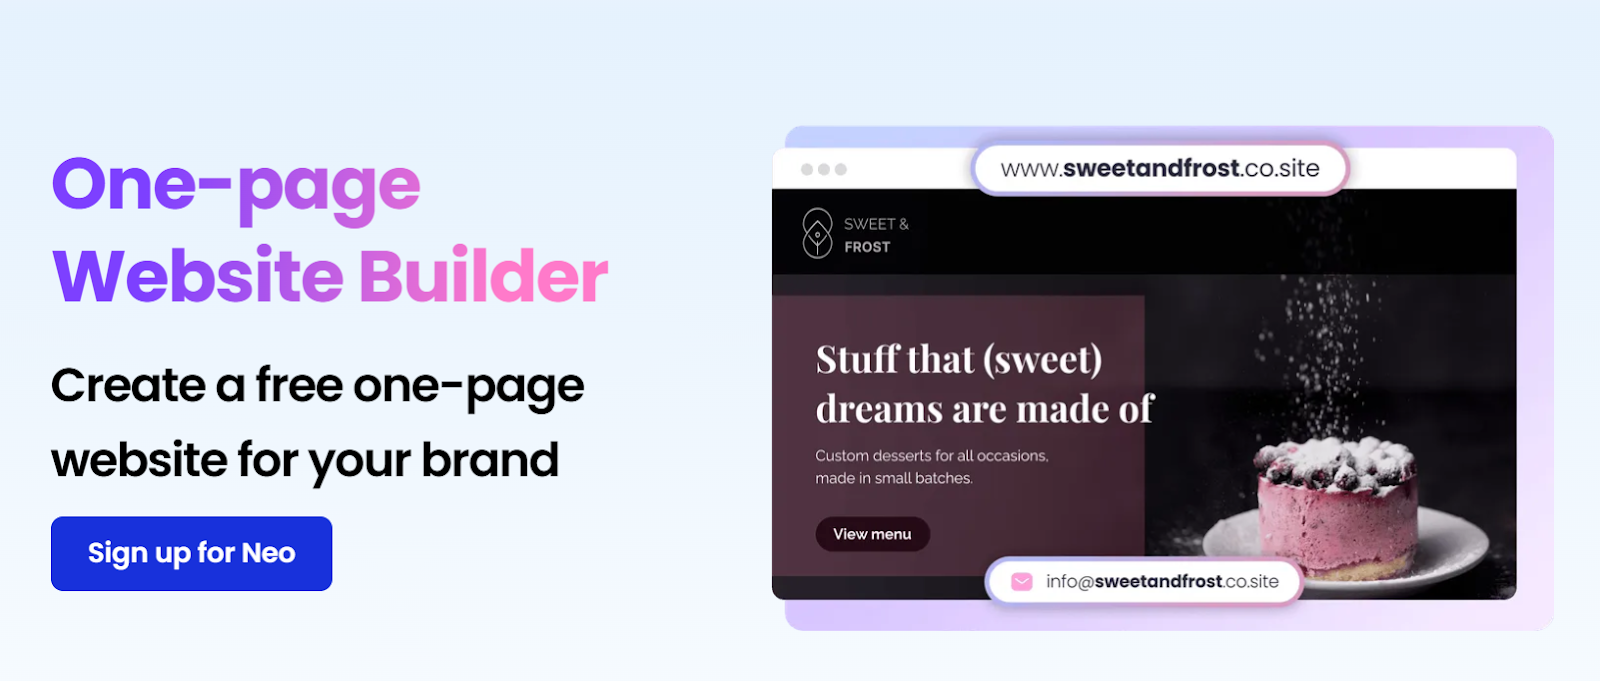
Neo's platform offers more than just letting you construct a stylish single-page website; it also includes a powerful range of integrated business solutions to boost productivity and client interaction. With a professional email address linked to your domain, you can communicate with clients while maintaining a consistent and reputable brand image. Using these technologies can alter your business processes, providing a more streamlined experience for you and your customers.
How to Set up?
The steps are simple to follow. Here are the steps to create your website using Neo's easy site maker:
Build Your Website with Neo AI in Minutes:
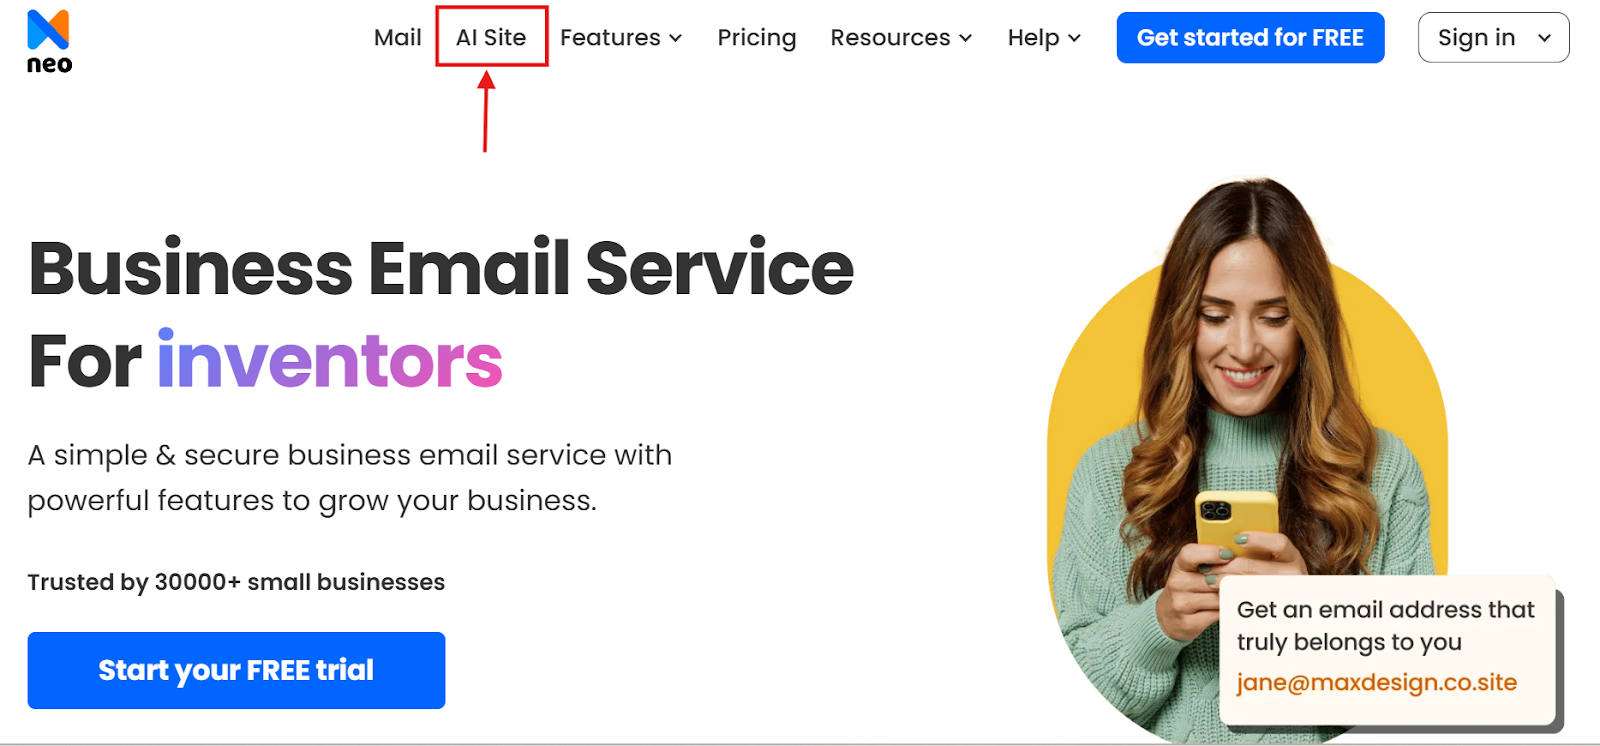
Go to Neo: Visit Neo and click on AI Site.
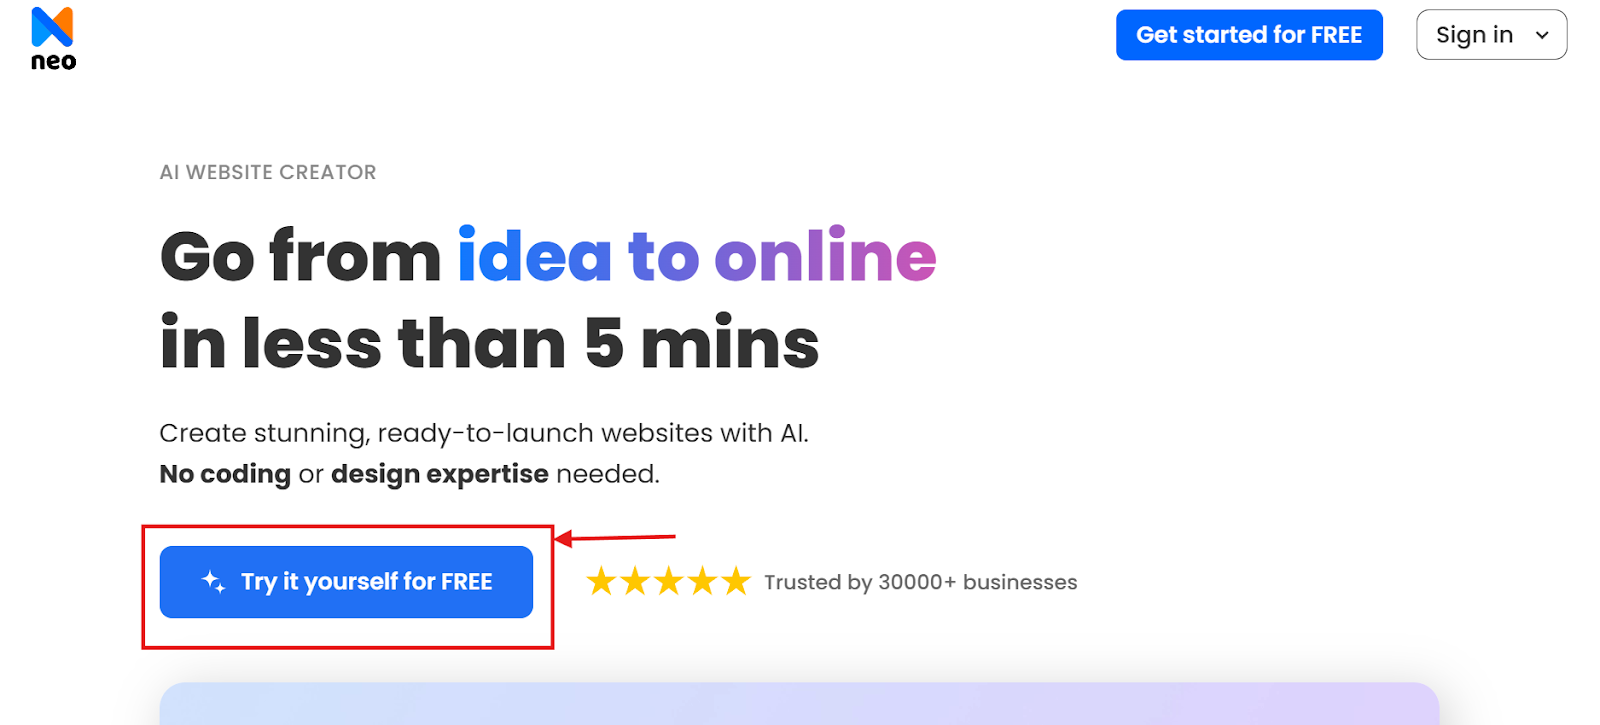
Start for Free: Hit the Try it yourself for free button.
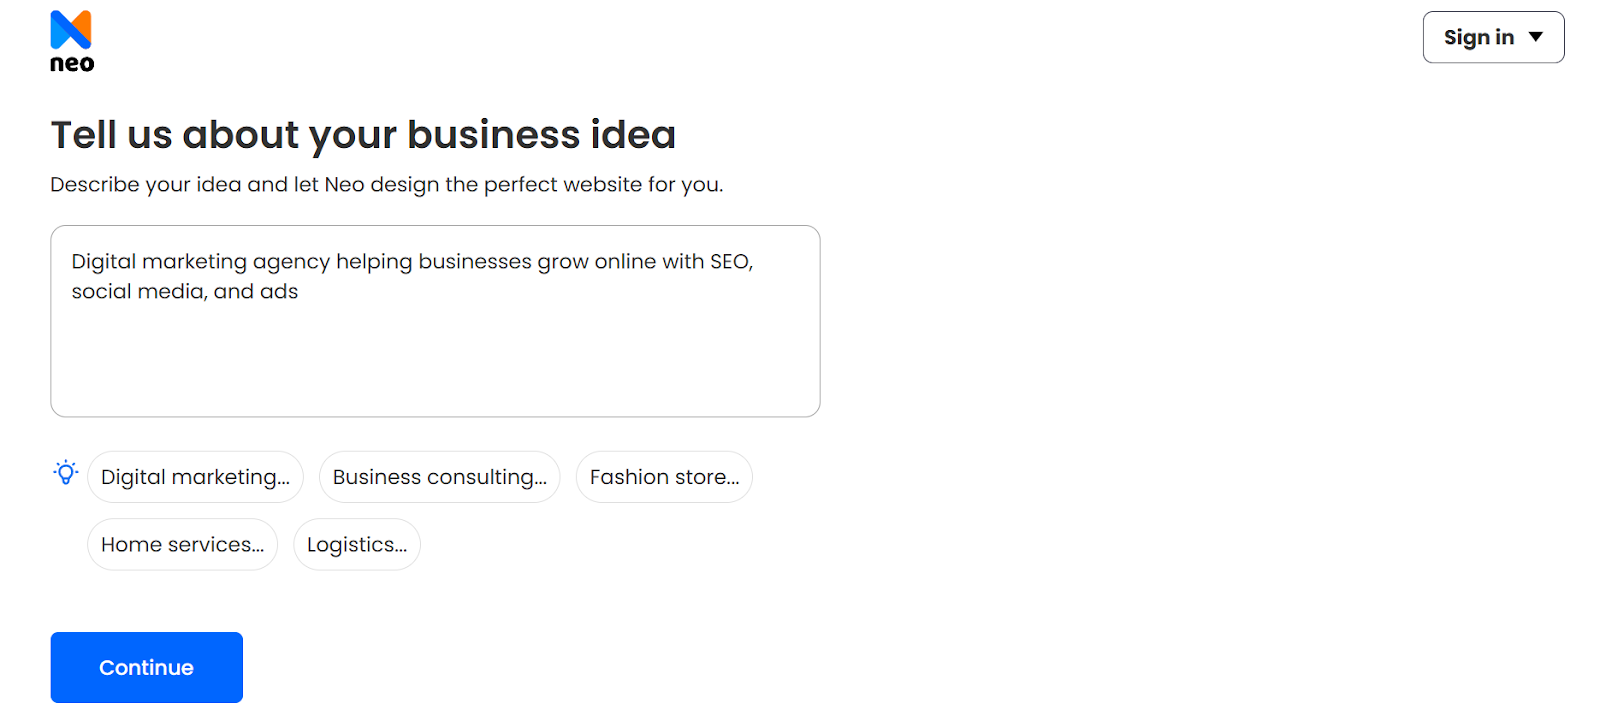
Describe Your Business: Write a prompt about your business idea. Hover over industry options (e.g., digital marketing, consulting) for ideas.
Enter Your Business Name: Type your business name and click Generate Site.
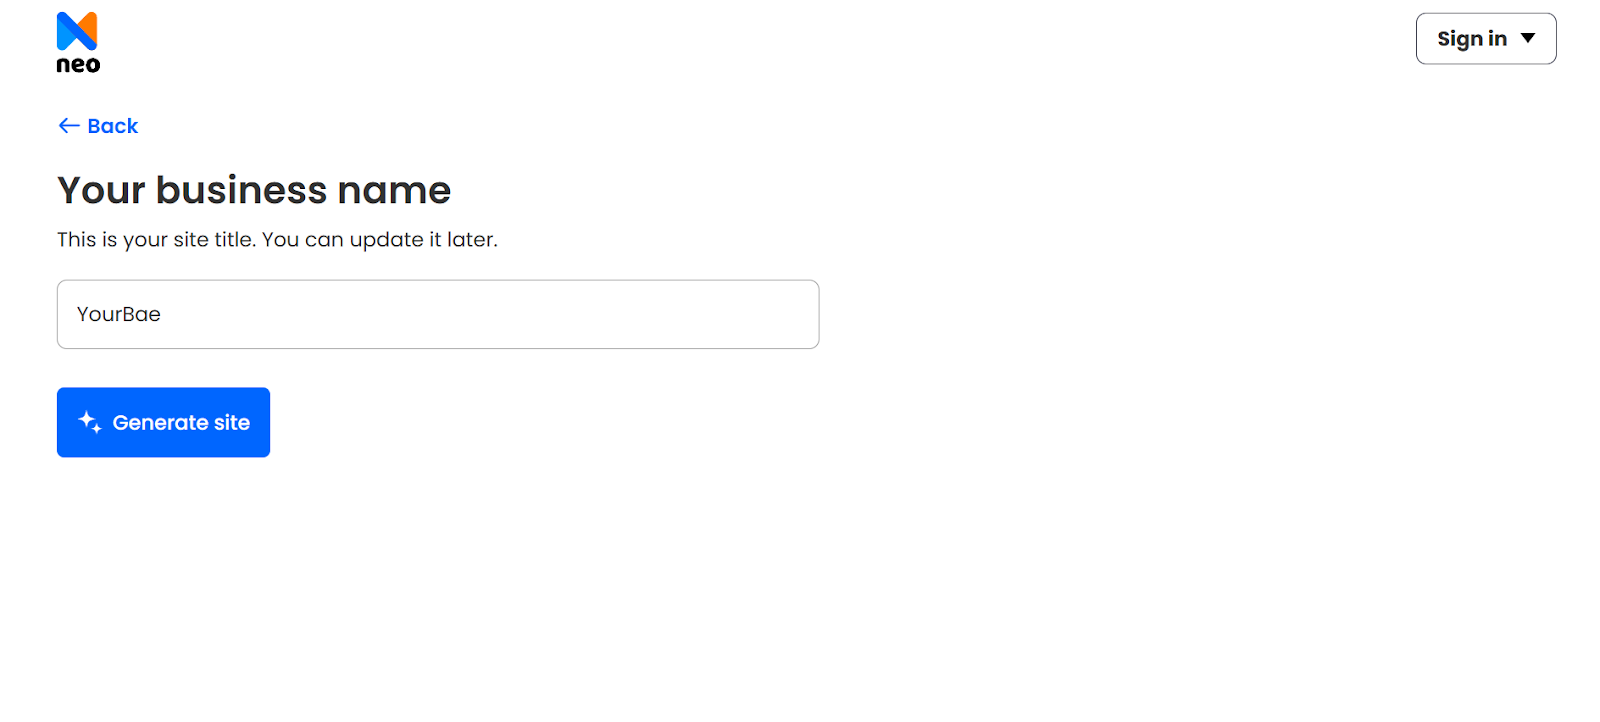
Your website will be ready in minutes!
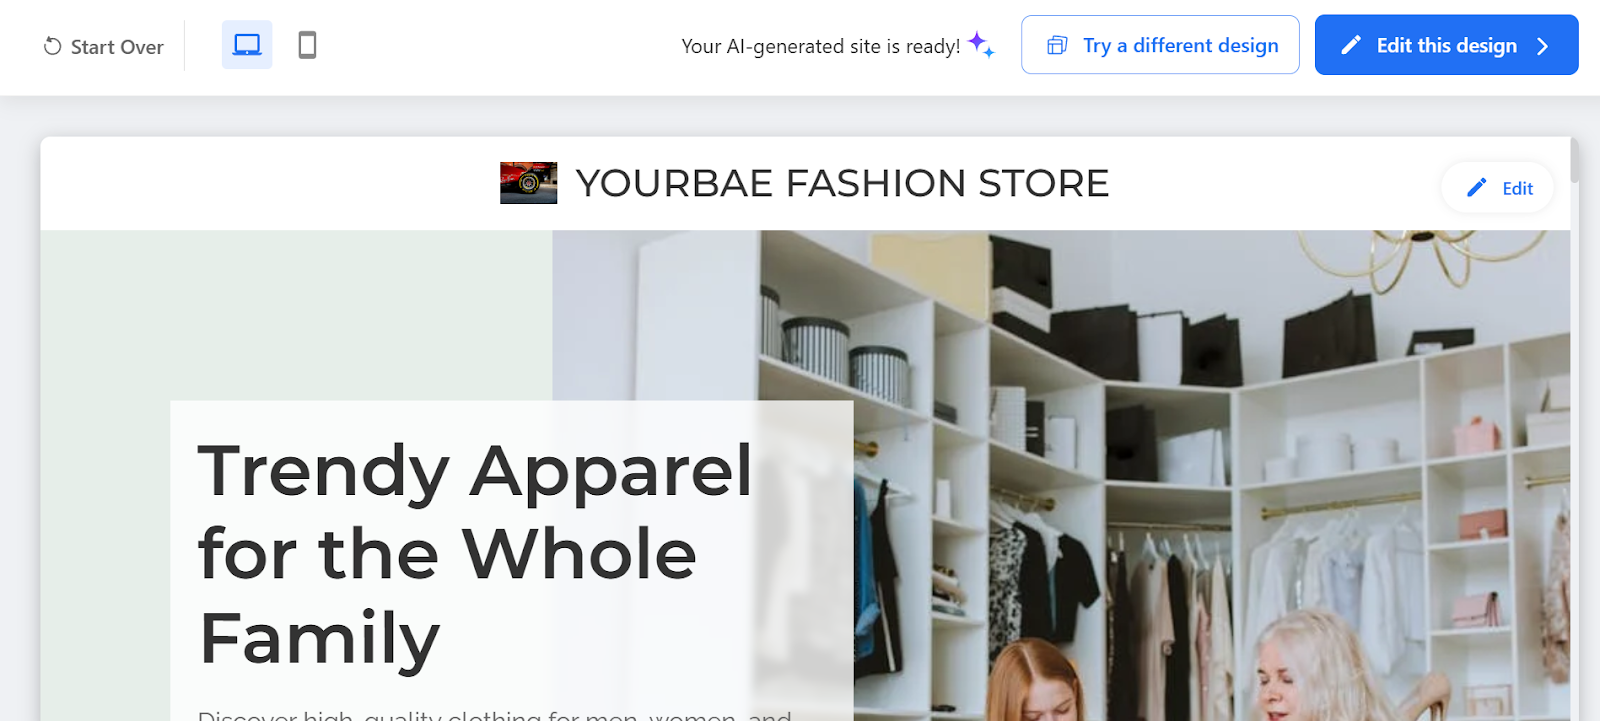
Customize: Use Edit this Design to tweak the template or Start Over to try again.
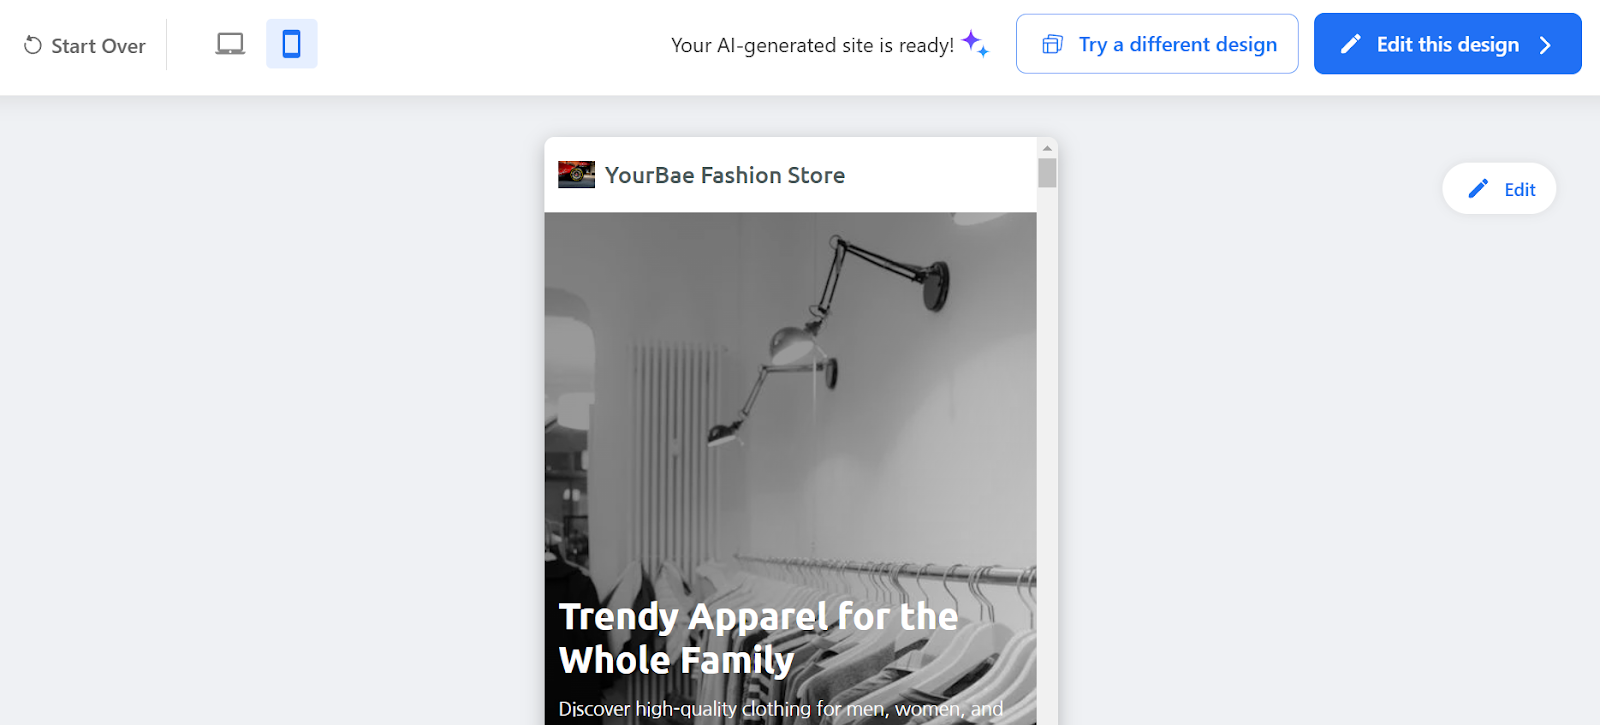
Explore Designs: Select Try a Different Design for new templates and themes.
Mobile Preview: Check how your site looks on mobile screens.
Key Features of Neo
- Logo: This part allows you to upload your business logo to develop your online presence. It will enhance your website's professionalism, credibility, and brand exposure.
- Site Description: In this section, you can describe your company, the services it provides, or any other information. Here, you can include everything you want your site visitors to see about your business.
- Custom Link: This part can link to your portfolio, menus, movies, or any related products and services that you want visitors to see.
- Contact Form: These forms promote responsiveness by allowing visitors to contact your organization quickly and simply. You can also specify the email address to which you want responses sent in the same form.
Pros and Cons
Pricing Plans
2. Web.com
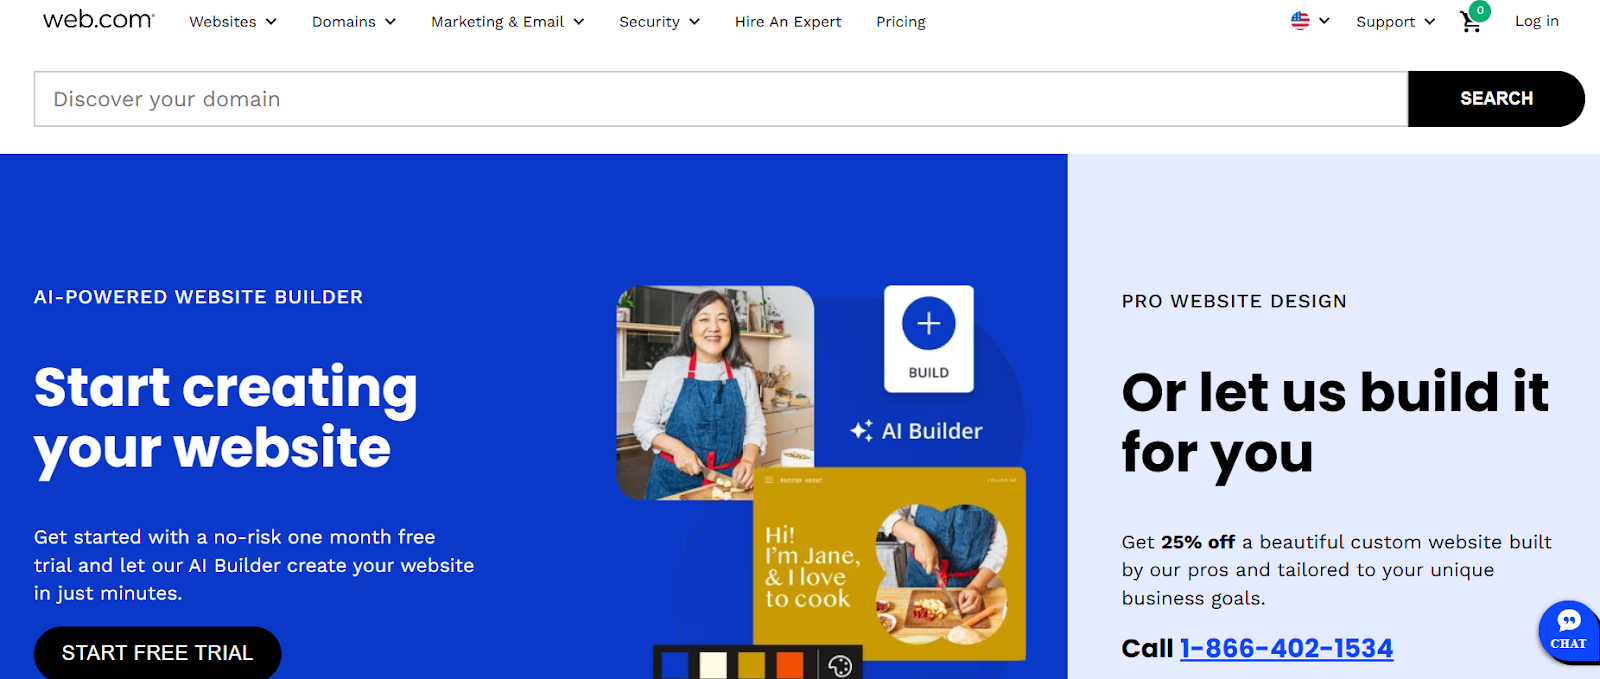
Amongst this list, one of the earliest and most well-known website builders in Sydney for small enterprises is Web.com. They offer user-friendly website-building tools at a low cost, allowing anyone to create a website without knowledge of coding.
Web.com provides a really competent support team, and they offer a vast selection of templates. If you need assistance, you can have their team create a website for you at a very reasonable cost. This is ideal for freelancers and experts because it allows you to outsource work to them for client tasks.
How to Set up?
Are you searching to get started with a web.com website setup? Follow the instructions listed below:
Step 1: Choose the appropriate website builder plan for your needs
First, select a website builder plan that matches your business requirements. As your business grows, you can upgrade to more complex website builder programs.
Step 2: Registering a domain name and selecting a hosting provider
Second, you must get a domain name for your web page. Web.com provides a free domain name registration for one year with annual builder plans. Furthermore, all website builder plans have built-in hosting, which ensures quick loading times and reliable backup tools.
Step 3: Create your website and select a template
Third, begin selecting a template for your website. Once you've accessed your website builder, you can begin developing your website by selecting one of the many industry-specific templates available. Don't worry; you may change them however you see fit.
Step 4: Customizing your website's style and layout
Fourth, modify your chosen template's position and layout. You can also customize the colors, fonts, and text to represent your brand best. The drag-and-drop tool makes template customization a breeze.
Step 5: Including content, pictures, and multimedia elements
Your website becomes dynamic and interesting when it has multimedia, photos, and content. You can either upload your photographs or use the free stock images included with the website builder. You can also integrate YouTube and Vimeo movies.
Step 6: Optimizing your website for search engines
Sixth, as previously indicated, the DIY website builder plan allows you to customize the title tags and meta descriptions. It can also generate XML sitemaps. If you require more than these, Web.com's small-business SEO services will help you increase organic search traffic, leads, or revenue.
Step 7: Publishing and launching your website
Finally, once you've finished developing your website, you may publish it and make it accessible online. Remember that your SEO efforts will not be immediately reflected. However, this does not imply you cannot market your website through your social media profiles.
Key Features of Web.com Website Builder
- AI-Powered Website Builder and Tools: Along with a simple website builder for beginners, Web.com has a revolutionary AI Builder that can create a website for you in minutes. Additionally, it features an AI writer, an AI logo builder, and an AI domain name generator.
- Domain and Email Solutions: The platform offers a free domain name and professional email address for the first year, increasing your company's online reach.
- Comprehensive Webspace Options: With plans providing up to 50 GB and 200 pages, users may access a substantial amount of web space, accommodating a range of website sizes and complexity.
- eCommerce Readiness: The platform offers online store builders, popular payment options, and social selling capabilities, making it ideal for enterprises wanting to enter the eCommerce space
Pros and Cons
Pricing and Plans
3. Squarespace
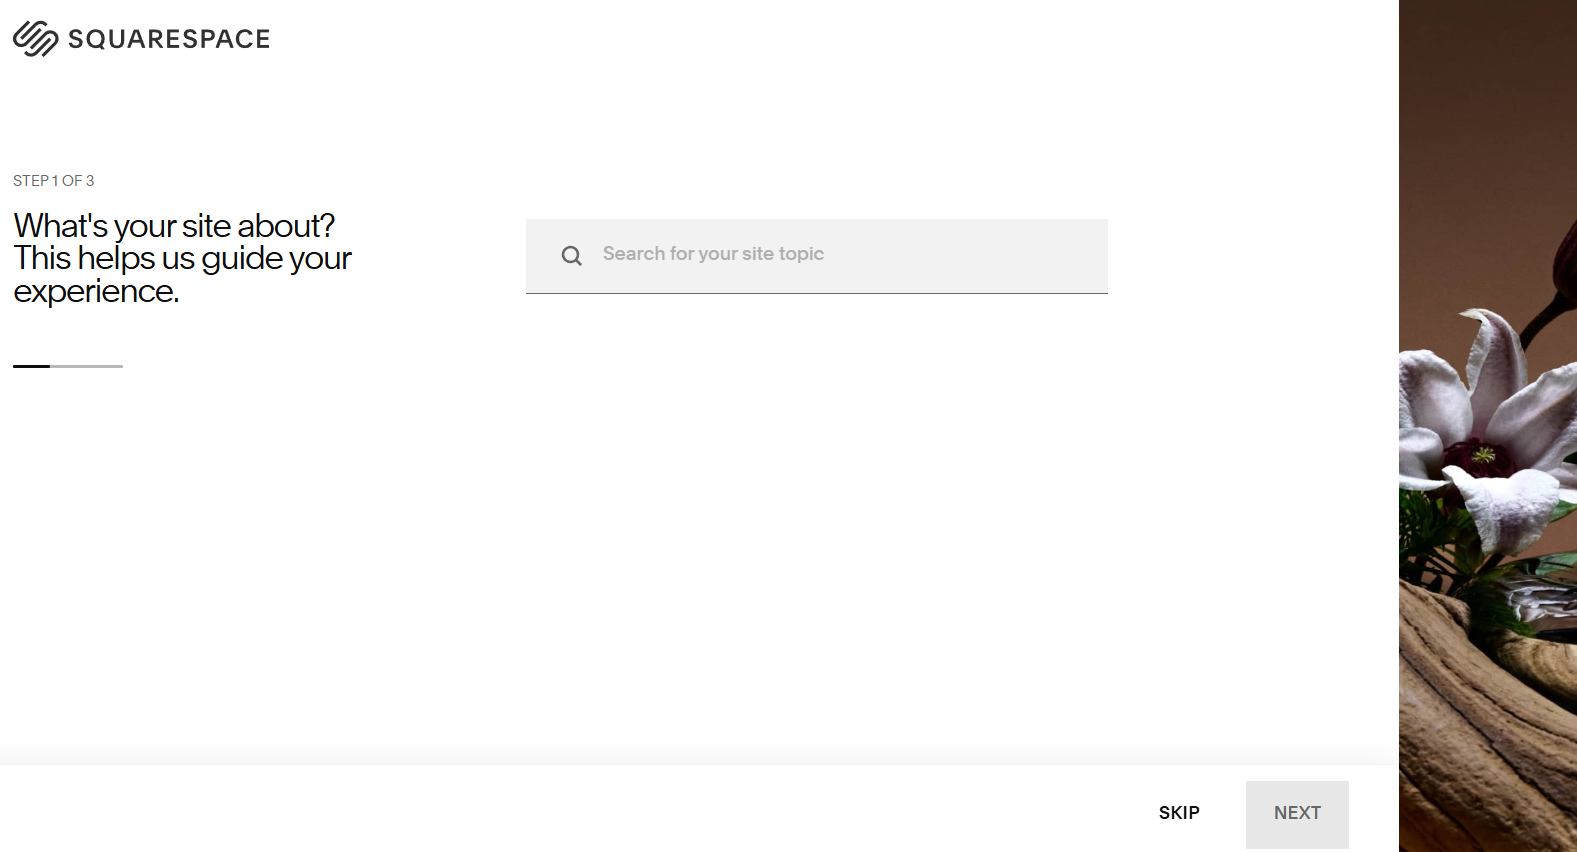
Squarespace, in this list, is a well-known professional website builder in Sydney renowned for its amazing designs and user-friendliness. Squarespace provides award-winning templates for a variety of website types, including weddings, personal, business, restaurants, retail, and portfolios. Squarespace is mainly used to create photography websites because its templates and design elements are specifically tailored to creativity. However, people don't use Squarespace for eCommerce or more complicated websites because they believe the platform is slightly limited.
How to Set up Squarespace Website?
Let's learn how to create an attractive website quickly and easily. To get started, you must first establish an account, select a template, and then begin changing to meet your requirements.
Once you've decided what you want to create, you'll need to create a Squarespace account—go to the Squarespace homepage and select "Get Started" to get started.
Step 1: Choose your template and site name
Squarespace has over 100 layouts to select from for any type of business, whether you're building a freelancing portfolio site, a realtor business website, or an online store. After registering with Squarespace, you may browse all of the template categories to select an ideal polished, well-designed template for your company.
After you've chosen your template, you'll need to give your site a name—this can be changed later when editing, so don't worry if you're not sure yet.
Step 2: Start customizing
After you've given your site a name, you can begin customizing it. When you go to the build page, you'll notice a handy assistance appear on the right.
The assistant also has a comprehensive design checklist that prompts you to add your site's logo, adjust colors and fonts, and add or delete pages. Simply click on any of the blocks on the page to open a window where you may customize sections, including the text, background picture, section height and width, and color palette.
To customize further, go to the left-hand column and choose the "Design" option. You can change your general site style to maintain uniformity with colors and fonts, update your browser icon, or add more CSS code.
To add or remove pages or to customize an existing page, pick "Pages" from the left-hand column.
If you want to integrate eCommerce into your site, go to the left-hand column, select "Commerce" to begin, and follow the steps offered to get started.
Step 3: Add some content
The content you add will be determined by the type of website you're building.
Navigate to "Pages" in the left-hand toolbar, then click the + sign at the top of the list. You can then choose a blog page and start posting your content right away.
Another option is to add a store directly from the list, an event listing, or a portfolio page.
Step 4: Select your custom domain name
A unique domain name is recommended to help your website attract visitors and potential customers. You can purchase a custom domain.
When you're on the construction page, go back to the left-hand toolbar and choose "Settings" and then "Domains". From there, you can connect an existing domain or purchase one from Squarespace.
Step 5: Optimize your site
Next, optimize your website for search engines. In the left-hand toolbar, select "Marketing" and then "SEO".
Here, you'll find a simple SEO checklist to help you start optimizing your site. It asks you to include things like a site description, SEO descriptions for particular pages, and links to your social network profiles.
Step 6: Upgrade your plan and publish your site
Though you have two weeks before upgrading your free plan, you must do so first if you want to launch your site.
To upgrade your website plan, select "Subscribe" at the bottom of the assistance box. Four options will then appear. Once you've selected a plan and submitted your payment information, you may publish and launch your website.
Key Features of Squarespace
- eCommerce Capabilities: Offers users the ability to access a range of products and services for online storefronts, social media sales tools, and product pulls from Etsy.
- Comprehensive Marketing capabilities: Includes native capabilities for email marketing, social media connectors, and analytics, as well as third-party service integrations like Google Analytics and Mailchimp.
- Customization and Security: This provides advanced design options, an extensive template library, the ability to password-protect sites, and the ability to create member areas.
- Domain Name Management: Squarespace simplifies the process of establishing a professional web presence by allowing you to register and maintain bespoke domain names.
Pros and Cons
Pricing Plans
4. Duda
Duda is a reputable website builder in Sydney that caters to businesses and agencies looking to create and manage numerous websites for their clients. Because it is intended for agencies and designers, Duda provides a variety of pricing options to meet their demands. Unlike other builders, Duda allows users to design bespoke templates from scratch or import them from other sources. This provides consumers with a significant degree of flexibility in developing their websites, ensuring they stand out.
How to Set up?
Let's walk through the process of creating a Duda website, from initial setup to launch, to ensure you produce something that effectively conveys your business.
Step 1: Sign up
Visit the Duda website at https://www.duda.co/ and sign up.
When you sign up, you will be presented with a welcome window in which you can select to establish your first site. Click the "Create Site" button.
Step 2: Select a template
Then, you can select the template that best suits your website's requirements. This saves time and allows you to begin the website construction process.
After you've selected a template, the following window displays an instructional video that teaches you how to use the website editor.
Step 3: Start editing
It is recommended that you watch the video. Once you've finished watching the video, you'll be able to begin modifying your website.
Let's go over the important details.
- The Top Bar: The top bar of the Duda editor contains several features for streamlining website construction and management. You can effortlessly navigate between pages while editing to ensure you're always working on the correct content.
- The Sidebar: The majority of the editing options are located on the sidebar. Before we get started, by clicking on various items on the page, you will be provided to add them to some extent, such as adding another section, modifying the column style and layout, and so on.
The sidebar has the following tabs:
- The Layers tab: It provides a hierarchical view of your page elements, allowing you to effortlessly manage and reorganize content like sections, columns, and widgets.
- The Pages tab allows you to create and rearrange pages and manage variables such as visibility and SEO options.
- The Widgets tab: It contains a range of pre-built widgets for adding information and functionality to your website, including text, photos, buttons, and galleries.
- The Content tab gives you access to your site's media and content library, where you may upload and manage photos, videos, documents, and other files used across the site.
- The Personalize tab: This tab allows you to adapt information and experiences for various website visitors by defining rules according to location, device type, or behavior.
- The Sell Online tab: It incorporates eCommerce features, allowing you to create, manage, and personalize your online store's product listings, payment methods, and delivery options.
- The Membership tab: It manages site members, controls access to certain pages, and configures settings for member-only areas, allowing you to create membership-based websites.
- The Blog tab: This tab allows you to manage your site's blog, including adding new entries, updating existing ones, and creating categories to help your content marketing efforts.
- The App Store tab gives you access to third-party apps that may be installed on your site to improve its functionality, including analytics tools, marketing apps, and more.
- The SEO & parameters tab: This tab allows you to customize critical parameters such as your site's information, URL structure, and performance improvements to improve SEO and overall operation.
Step 4: Publish
Now that you have the information, you may create, design, and change the website whenever you want. Once completed, preview it and, if satisfied, publish it.
When you press the "Publish" button, you will be presented with a window. There, you can utilize the domain given to you by Duda, purchase a new, custom domain, or use a name you already own.
Key Features of Duda
- Sleek Design and Customization: Duda excels with its global styling and pixel-perfect mobile-friendly designs, guaranteeing that your website looks user-friendly and consistent.
- AI-Powered Efficiency: The platform's AI Assistant transforms content generation and SEO, making website optimization simple and effective.
- Seamless Client Collaboration: Duda simplifies the procedure of integrating client content paired with strong eCommerce features for an all-in-one business solution.
- Professional-grade tools: Duda is a dream for web designers and digital marketers, as it provides powerful SEO features and custom widget building.
Pros and Cons
Pricing and Plans
5. GoDaddy
GoDaddy has been a major player in the web hosting industry in Sydney for many years. One of their most appealing features is their website builder, which allows customers to create a new site using AI by simply responding to a few questions about their business.
Their builder has a simple interface and a variety of options to let users construct and modify their websites. It includes a drag-and-drop editor and a variety of widgets for adding information. The platform provides pre-made customizable templates for both simple one-page web pages and more complicated multi-page sites with eCommerce capabilities.
How to Set up?
Let's review the process for constructing a website using GoDaddy's website builder. We'll cover the full process, from setting up an account to modifying your design and publishing a mobile and desktop-optimized site.
Step 1. Create an account
To develop a website on GoDaddy, start by creating an account. To open an account:
- Visit GoDaddy.com.
- Select "Create an Account." You can do this using your email address, Google account, or Facebook credentials.
- Click on Start for Free to create a free website.
It's worth noting that the free plan provides users with an address like yoursitename.godaddysites.com. To use a custom domain name, you must upgrade to a premium subscription.
Step 2. Select your industry and website name
It's time to choose your business category from the numerous alternatives offered on GoDaddy. If your industry is not available, select the one closest to it. Simply select one that matches your business, as GoDaddy will provide templates that are appropriate for your type of business.
The next step is to choose your website name, which will appear when visitors search for you. You can alter this later, so don't spend excessive time here. Once you've decided on a website title, GoDaddy will produce a sample homepage for you.
Step 3. Select your theme
You can choose a different layout or modify the one that was created when you chose your industry to fit your brand. Remember that the theme is just a layout; you may still add text, pages, and photos to it after it has been published.
To alter the suggested theme, go to your dashboard's upper-right corner and choose Template. Then click Try a New Look to see other templates. Because you may modify the colors, fonts, and buttons, you can choose any theme that suits your preferences. Click Select in the bottom-left corner to activate a theme.
Step 4. Customize your website
GoDaddy has numerous templates based on your selected sector. To establish a proper website for your business, you must design the pages, sections, graphics, and texts to reflect your brand's style.
- Add your images: To upload an image to your website, click the Update button to the right of the image. Feel free to explore the available stock photos or import them from your PC or social media. Once you've found an image you like, click Insert.
- Add your text: This step is rather basic. Click to highlight, delete, or add to the sample text. Several text editing choices are available, including italics, bold, numbered lists, bullet points, and size.
- Add new sections: Some of the areas that are included on your website include the Header, About Us, Contact Us, Privacy Policy, and Terms and Conditions. Include additional features like menus, blogs, calendars, social media feeds, videos, and image galleries to make it stand out. To achieve this, select any of the plus (+) icons from your dashboard. You can also remove sections that you don't want.
- Add new pages:’ To do so, go to your dashboard's upper-right corner and click the Website button. You will see how your pages are constructed. To add new pages, use the plus (+) button from the Site Navigation menu. You can rename, duplicate, and delete generated pages. You can also include external hyperlinks and drop-down menus. If you wish to reorder the pages, click the symbol next to the addition (+) button.
Step 5: Manage your settings
The Settings tab contains your site profile and tracking capabilities, which share your company profile with visitors and allow you to optimize your website. You can change, activate, and add new features.
Site Profile
- Your site profile contains all of your important information.
- Basic Information: Enter details such as your website's name, phone number, email address, and physical address.
- Social Media Links: Connect your social networking accounts, such as LinkedIn, Facebook, Instagram, TikTok, Pinterest, Yelp, and Discord.
- Favicon: Upload the icon that visitors will see next to your website's name.
- Get found on Google: Click the Start Optimizing button to begin keyword optimization for your website. GoDaddy will assist you in identifying suitable keywords.
- Site History: Reload stored drafts of editing actions on your site in case they are needed.
Analytics and Tracking
This setting will help you get the most out of Google, Facebook, Pinterest, and Google AdSense by allowing you to track and evaluate visitor interests. If you have previously registered for trackers or analytics, provide their IDs.
Step 6: Enhance your website
GoDaddy's sophisticated features include appointment scheduling, pop-ups, and social media integration. It also allows users to set up online storefronts and customize their domains. Let's look at how to improve your site using the available options.
To include a pop-up message on your website, click the Popup button below the Website. You can customize the image, wording, and where the links appear on your page.
Add buttons that will take visitors to your social networking pages with a single click. To accomplish this, create a new section and select Social. Then, include the links.
Step 7: Preview and publish your website
Before you go live, test how your site will appear to users on both mobile and desktop devices. Go through every page and confirm that the contact information is correct. Check the webpage for typos, broken links, and general layout.
If you are okay with your website being launched under the subdomain yoursite.godaddy.com, you can click Publish to make it live.
Step 8. Customize your domain
Either connect to an existing domain name or purchase a new one from GoDaddy in order to publish your website on a custom domain. If you acquired a domain name from GoDaddy, select the Publish option. It will send you to a page where you can select a domain and connect it to your website.
Key Features
- AI-Powered Website Builder: Answer a few questions and see GoDaddy build a website for you in minutes.
- Intuitive Design Tools: GoDaddy Builder includes sleek, responsive, and mobile-friendly templates that make website design simple.
- AI-Powered Guidance: The platform includes GoDaddy InSight, an AI tool that offers real-time guidance and ideas during the website creation process, assisting with design and marketing decisions.
- Comprehensive Integration: This includes built-in SEO, social networking, and email marketing tools that work smoothly with other GoDaddy services, such as domain registration and email hosting.
- eCommerce Support: Users may create full-featured online stores that integrate multiple business functions, including appointments, eCommerce, and email marketing.
Pros and Cons
Pricing and Plan
Top 5 Web Design Templates Popular in Sydney
Let’s look at some of the popular website builder Sydney templates, which are fully editable and adaptable. Here are the top five most popular and free templates you can use in 2024:
1. Brine Template Family

If you want unparalleled flexibility, look no further than the Brine template family.
What makes this website builder template popular?
- Every template in this has the same functionality.
- Excite you with a variety of customizing choices, including parallax scrolling and appealing banner images.
- Provides clear navigation that is tailored to your users' experiences.
2. Avenue Website Templates
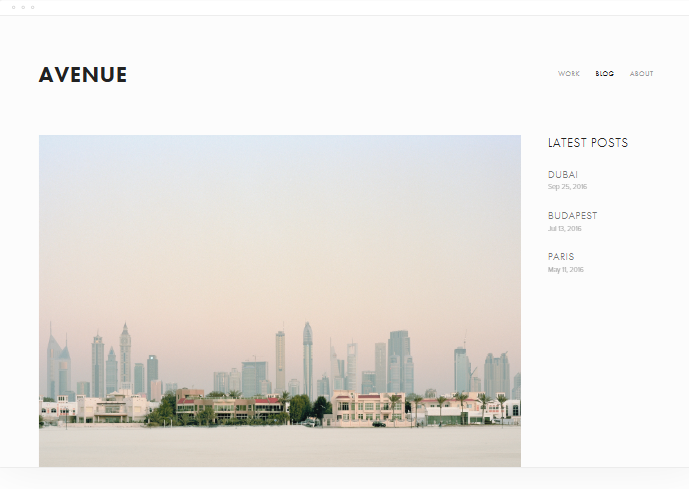
Avenue takes center stage in Squarespace's 2024 designs, making it a popular choice for portfolio-based and single-page websites.
What makes this website builder template popular:
- The captivating grid design distributes photographs with precise precision, guaranteeing that each frame completely displays your products.
- It provides a balance between elegance and simplicity.
- Seamless navigation enables easy surfing, keeping users engaged and increasing overall site functionality.
3. Construction Website Template
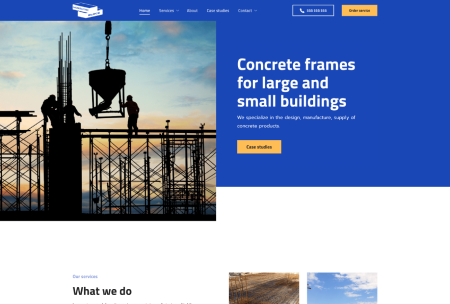
With one of these construction templates as the foundation, you may create the ideal website for your business.
What makes this website builder template popular:
- Provide rich, professional designs that include project portfolios, service summaries, and client testimonials.
- Include pages demonstrating your breadth of services and skills to build credibility and confidence with potential clients.
- Visually demonstrate your knowledge and previous accomplishments.
4. Global Spark

Global Spark's powerful, message-focused design is an ideal option for spreading your message, attracting followers to your cause, and establishing a network of committed donors.
What makes this website builder template popular:
- The homepage's attention-grabbing header and bright orange "Donate Now" button will draw in visitors right away.
- The Contact page strategically focuses on increasing community interaction.
- There is even an Events page where you may share upcoming activities meant to educate and inspire.
5. The Dog Store Website Template
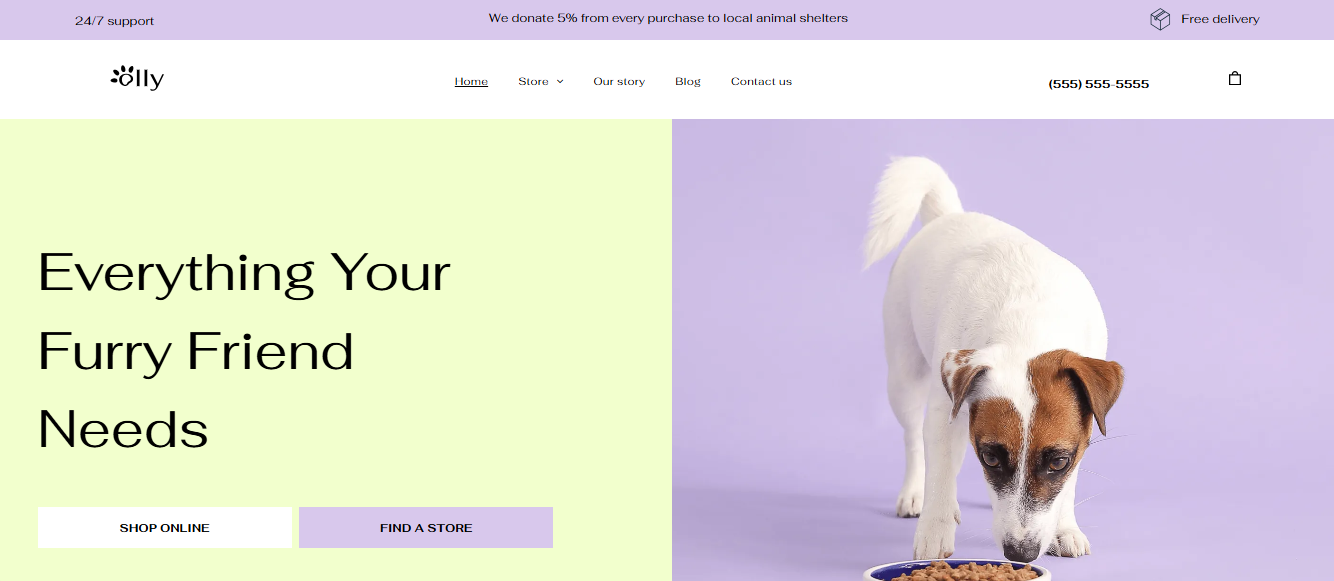
The Dog Store template, with its vibrant and appealing style, is an excellent choice for online pet stores or other similar businesses.
What makes this website builder template popular:
- There are six primary pages, each dedicated to a specific component of a pet store, such as individual product and category pages.
- Its design allows for various access points, with products prominently displayed directly from the homepage.
- It has been built for rapid launch and scalability, allowing for the extension and growth of product lines and content.
Final Words
In today's digital world, having an online presence is critical to any business's success in Sydney. The free website builders in 2024 are dynamic and feature-rich, serving a wide range of digital needs. Platforms such as Neo, Web.com, and GoDaddy offer straightforward drag-and-drop interfaces, allowing users of all skill levels to build websites without coding.
Website builders such as Neo come with themes, customization features, SEO optimization, and eCommerce capabilities, allowing professionals and small businesses in Sydney to develop a professional online presence with little to no work. Whether you want to establish a personal blog, portfolio, or company website, Neo enables you to develop a free website quickly and easily.
Frequently Asked Questions (FAQs)
Why should you get a customized website in Sydney?
Having a unique website allows you to stand out. If your website has a unique design that gives it the "wow factor," you will attract more visitors. A custom web developer can help you create the unique website you want. If you want to expand your business, you must stand out.
What should you consider when creating a website in Sydney?
Building a personalized website is a smart option that can help your brand prosper as a business owner in Sydney's booming market.
How do websites help build credibility online?
You can create a digital platform that communicates with your target audience by aligning your online presence with your brand identity, providing an excellent user experience, optimizing search engines, and integrating customized features.

Get Business Email
No domain name required
Best Website Builder
In Sydney


.svg%201.svg)
.svg)
.svg)
.svg%201.svg)


